Getting a Professional Finish with Mini Rollers: Techniques That Work
Achieving a professional-looking paint finish isn't just about having the right tools—it's equally about using proper technique. Many UK homeowners underestimate how technique impacts the final result when using mini rollers. With practice and the right approach, you can match professional standards.
Preparation is Everything
Before rolling a single stroke, ensure your surface is properly prepared. Fill holes and cracks with filler, sand smooth, and wipe down dust with a damp cloth. Apply primer to bare surfaces or significant colour changes. A well-prepared surface means your mini roller can glide smoothly, creating an even finish without having to work around imperfections.
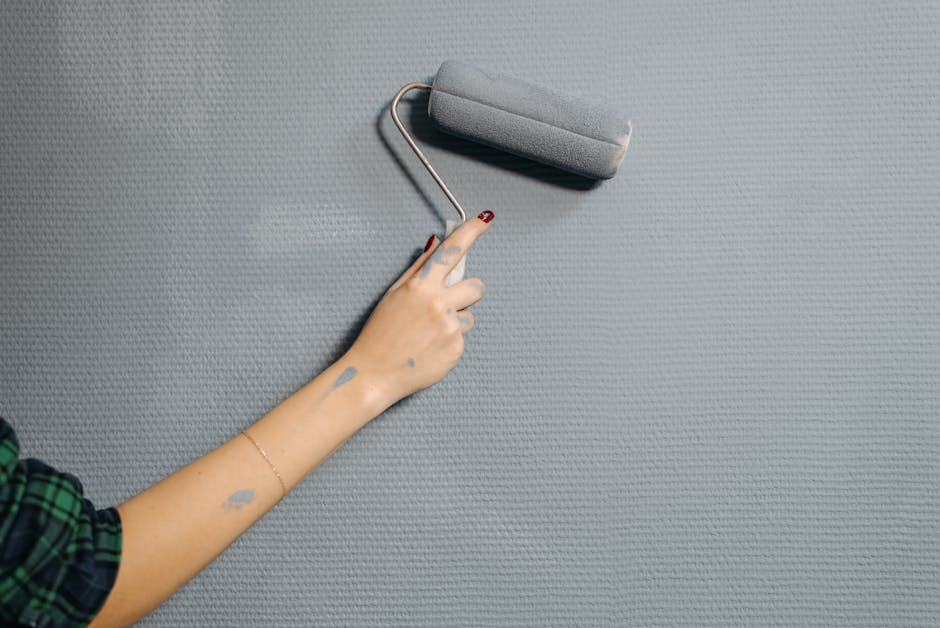
Loading Your Roller Correctly
Dip your mini roller into the paint tray at a 45-degree angle, rolling it back and forth to distribute paint evenly across the nap. The roller should be saturated but not dripping. Too much paint causes drips and runs; too little requires multiple passes and creates uneven coverage. Find the balance through a couple of test applications.
The Painting Pattern
Use a "W" or "M" pattern when applying paint: start at one corner and paint a large "W" or "M" shape without lifting the roller. Then fill in the shape by rolling vertically or horizontally to blend the edges. This technique distributes paint evenly and prevents lap marks where wet and dry paint meet. Work in sections of about one square metre at a time.
Maintaining a Wet Edge
Keep a "wet edge" by working quickly enough that sections overlap slightly before the paint dries. This prevents visible join lines in your finished surface. In warm conditions, work faster; in cool environments, you have more time. Maintaining this wet edge is crucial for that seamless, professional appearance.
Pressure and Speed
Apply consistent, moderate pressure—not too heavy, not too light. Let the roller do the work rather than pressing hard. Move at a steady pace, roughly one metre per second. Rushing creates an uneven finish, while moving too slowly can cause paint to dry unevenly.
Multiple Coats Strategy
Most projects benefit from two coats. Allow proper drying time between coats as specified on your paint tin. Light sanding between coats with fine-grit sandpaper creates better adhesion for the second coat and an even smoother final finish.
Practice these techniques on less visible areas first. Your skills will improve quickly, and soon you'll achieve results that rival professional painters.